Note: I’ve created a two YouTube videos showing how to do this – part 1 & part 2.
Yesterday I posted a guide for installing Minecraft mods on a Mac. The logical next step to this is is creating your own mods. This is not quite as easy as installing them – you will need to know how to program in Java and there are a number of steps required just to set up the environment. This guide will show you how to set up the environment on your Mac. In this tutorial I’m using macOS High Sierra.
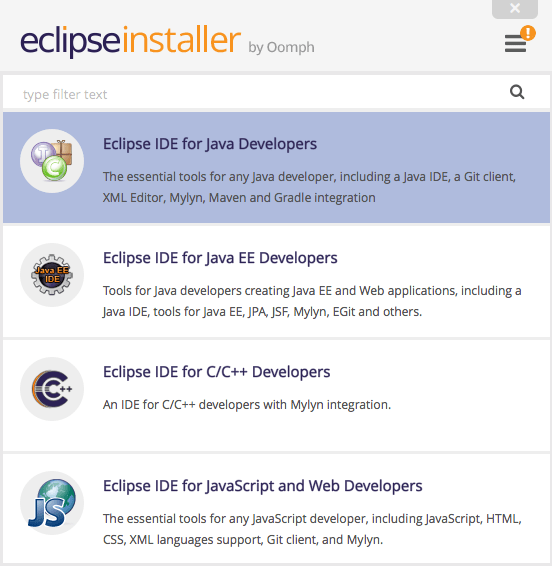
- Download and install Eclipse https://www.eclipse.org/downloads/
This is the tool you’ll use to create your mods. It’s an integrated development environment (IDE) written in Java and primarily used to develop Java applications.

- Download and install the latest Java SDK (software development kit) http://www.oracle.com/technetwork/java/javase/downloads/jdk8-downloads-2133151.html
-
Download the Forge Mdk (mod development kit) from http://files.minecraftforge.net

- Create a new folder in your home directory called moddev (You can call it something else, if you prefer). Unzip the mdk you downloaded in step 3 and copy build.gradle, gradlew.bat, gradlew, gradle to the moddev folder.
-
Open terminal and navigate to the newly created folder with those four files in it. Then type:
./gradlew setupDecompWorkspace
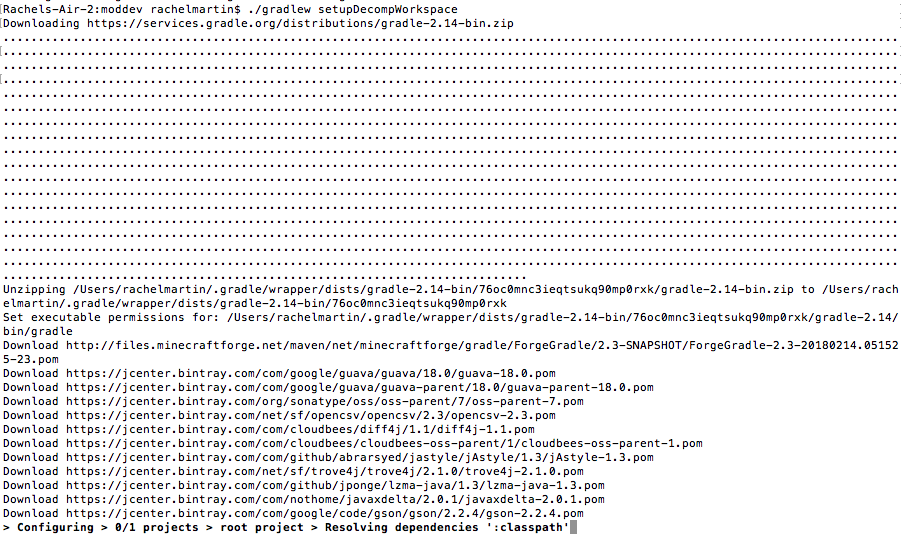
This will take 5-10 minutes.
- Now run ./gradlew eclipse to set up Eclipse.
You’re ready to start creating your first mod! Forge have an example mod which you will have downloaded with the mdk in step 3. You’ll find it in the /src/main/java/com/example/examplemod directory. Copy the ExampleMod.java file into your new moddev directory and open it in Eclipse to have a look.

Leave a reply to Graham Lukas Cancel reply